hobbit
Well-Known Member
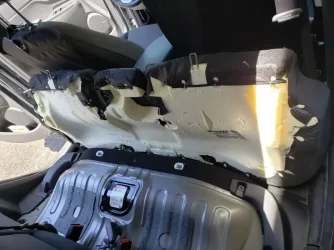
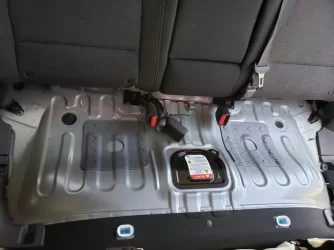
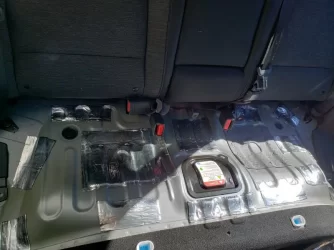
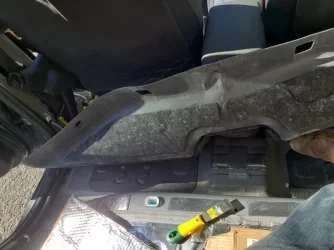
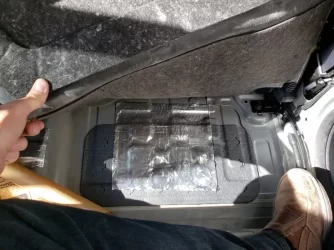
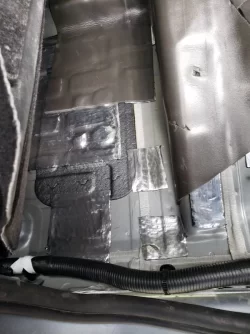
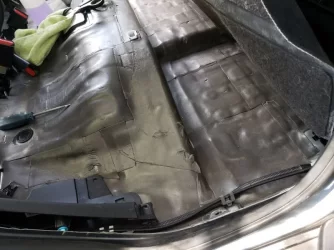
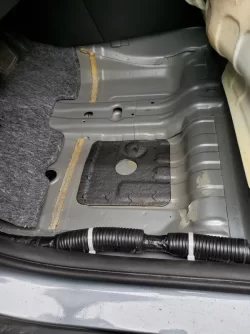
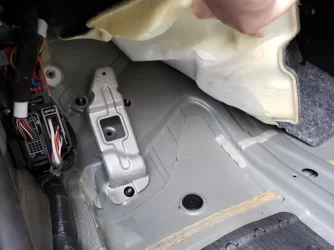
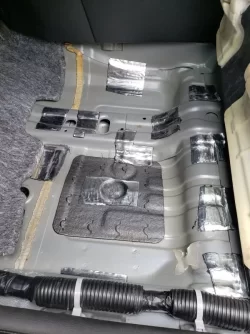
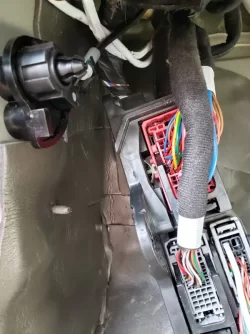
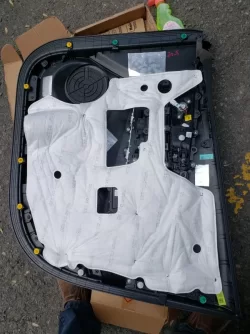
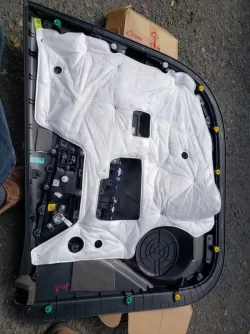
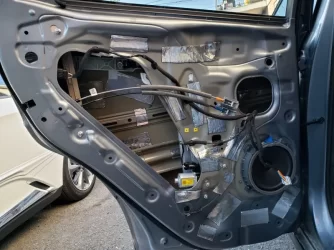
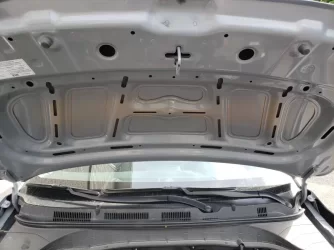
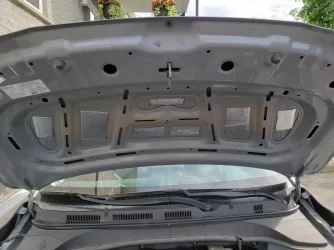
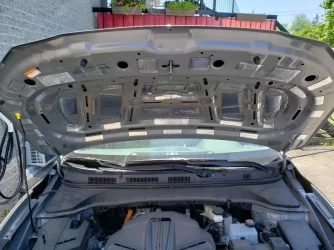
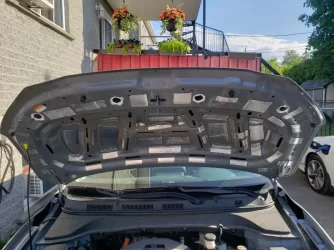
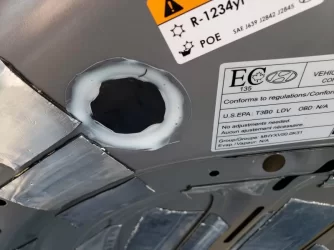
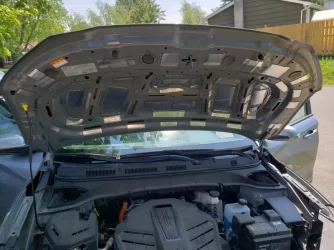
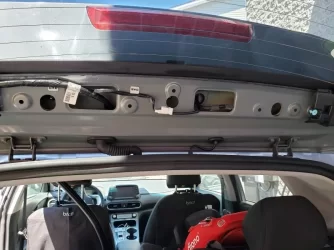
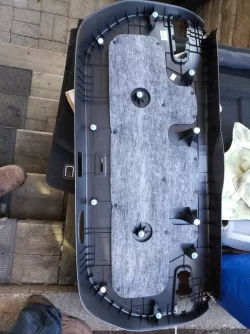
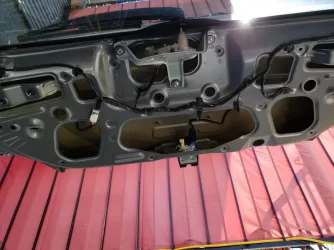
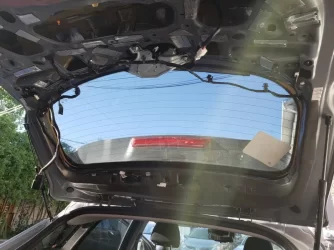
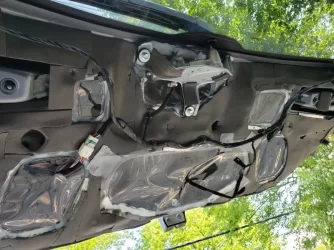
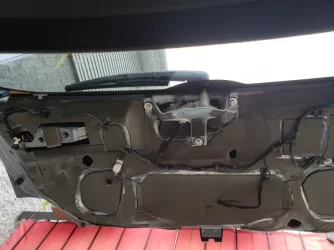
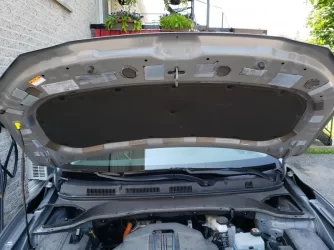
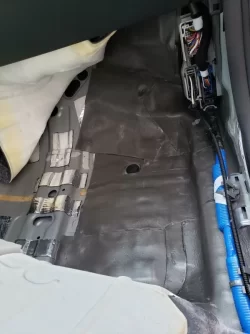
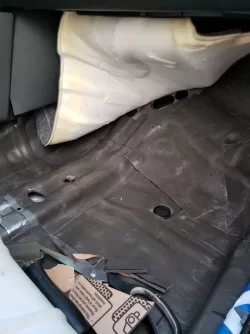
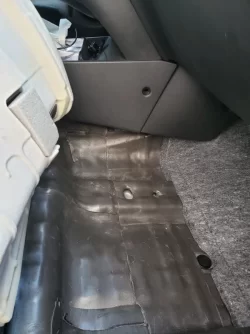
All those holes in the hood structure are where rodents can freely go in and out.
Every time I lift my hood I hear acorns rolling around inside it, that got there
before I blocked off the four big holes along the front. And they could probably
still chew their way past the liner to get into some of the smaller ones.
_H*
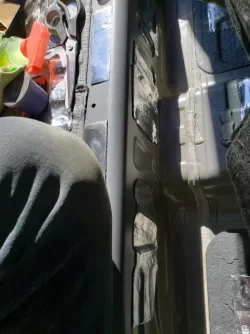
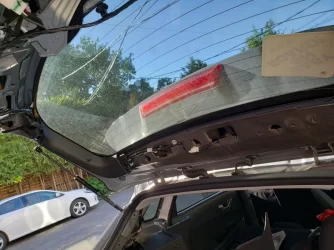
Every time I lift my hood I hear acorns rolling around inside it, that got there
before I blocked off the four big holes along the front. And they could probably
still chew their way past the liner to get into some of the smaller ones.
_H*


")


")