KentuckyKen
Well-Known Member
Here you go Demian,Ken - would you be willing to share some photos of your dashcam install? Did you hardwire it?
I installed a Rexing v2 “dash” cam that mounts to the windshield. This model has a rear view camera that in integrated into the one piece body so you don’t have to run any wires back to the rear window.
Pluses: easy installation w no wires to run to rear of car, picks up interior and driver interactions at side window (170 degree lens), 1080p recorded front and back in separate files, or can chose 4K front recording only, good camera for light and dark, Rexing gets good reviews, can add GPS logger if needed, all accessories needed for install using cig lighter (even pry tool for trim)
Minuses: picks up less of rear view since it’s shooting from windshield through passenger space, hard wire kit is $10 extra, GPS logger is extra
1. Find suitable location:
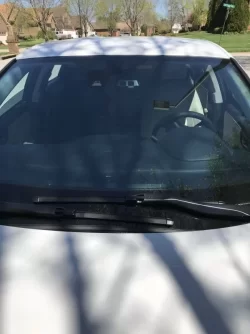
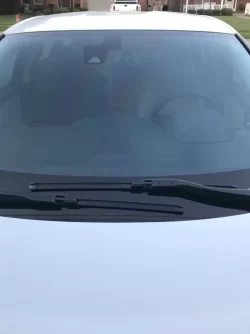
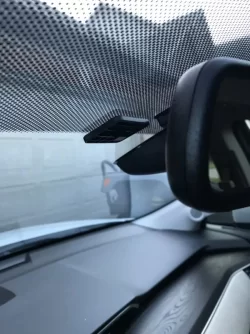
I put it behind mirror on driver’s side as close to center pod and as high as possible. Passenger side obstructed view too much and was off center. I have my seat up as much as possible (too old to bend down) and the mirror as high as possible. This worked great as the rear cam just clears the bottom of mirror and I lost practically no visibility. How you have seat and mirror adjusted will affect your best location. Tried to take pix from driver’s head position to show this. You can see it just barely protrudes from side and bottom of mirror. The small rectangle on bottom is the rear facing cam lense.
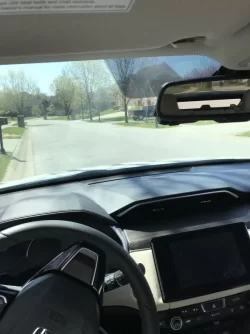
Note that Rexing came with a mount w 3M tape so camera easily can be removed by sliding cam to left to leave just the mount on windshield
2. Run wires across top of windshield, down A pillar and under dash to either empty fuse location that turns off with ignition or to 12v socket.
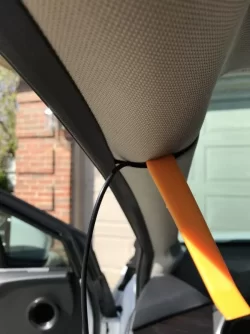
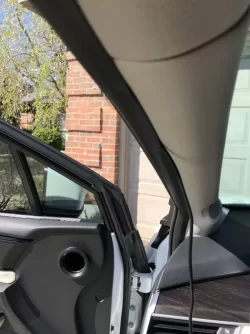
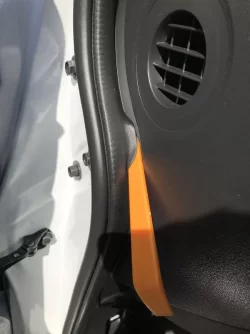
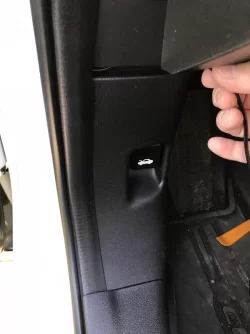
Wire hides easily under head liner, then under top part of airbag cover on A pillar, than down under rubber gasket that seals gap between left side panel and dash panel. Then across a horizontal gap between top and bottom side panel at bottom of dash. Then it’s all concealed under dash and you’re home free.
Tips: Used orange pry tool included w kit to gently pry open top of air bag cover and rubber gasket. I snipped off the back corner of air bag cover to get wire to smoothly transition to go down rubber gasket. The gasket has room for wire at back without puckering or edge not laying down flat. Kit came w some small stick in wire clamps that were used from cam to headliner to keep wire under blacked out portion of windshield to make it un-noticeable. Pix are a progression from cam to headliner to A pillar to gasket to dash. Wire is totally secure and out of site. See pictures:
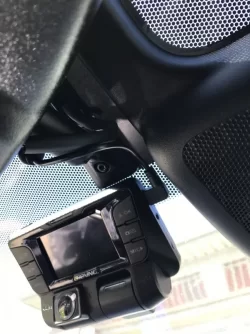
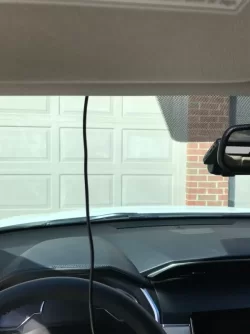
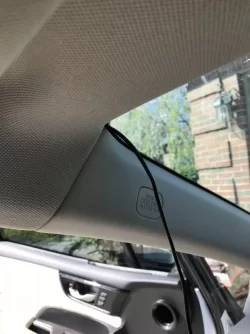
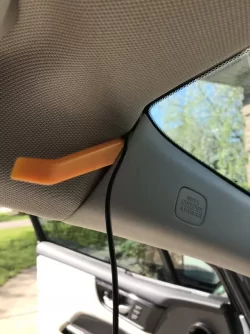
I opted not to hard wire using the $10 additional kit that plugs into fuse location because at my age standing on my head and playing contortionist under there is no fun. Just ran it over to 12v socket and the plug even has a nice swiveling cover w an extra USB port. It also feels like the spring loaded contacts are such that it won’t work it’s way out of the socket
.
So bottom line is that hiding the wire and getting it down to fuse or socket was a whole lot easier than I imagined. And you can’t see the wire at all. Took less than an hour to hook it all up once I figured out where to mount it.
It’s also rather unobtrusive from outside and doesn’t look particularly like a non oem camera that wants to be stolen.
