Wreckless117
Well-Known Member
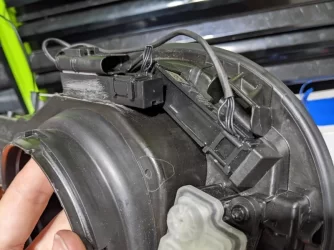
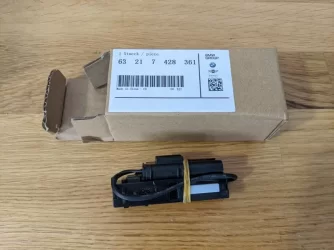
Doing a write up as promised with pictures for those that may want to attempt this awesome mod. I rate difficulty as a 5 or 6/10, while the premise is simple, execution is really down to skill/experience.
Disclaimer: This information is for learning purposes only. Attempt at your own risk. Altering your vehicle and/or wiring harness may result in a voided/denied warranty.
Now that the unlikely scary stuff is over, let's begin!!
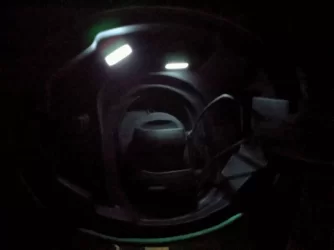
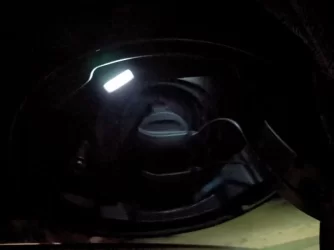
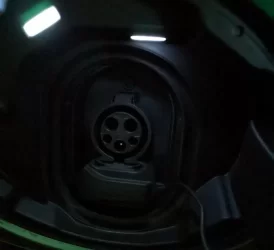
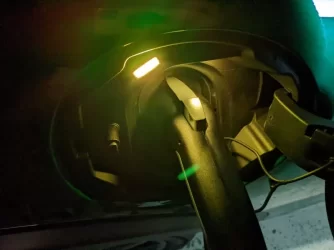
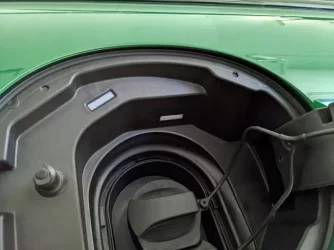
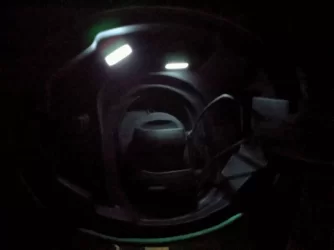
This journey all began shortly after taking delivery of the car. I've read many complaints about the charge port lighting issue and didn't think it would apply to me much as I park in a well lit garage. Well turns out I was wrong and pulling in at night, the main garage lights are not on, and makes seeing the charge port area more difficult than expected. Even my wife made a comment on it when she went to plug it in, before I ever said anything about this issue, and shes not one to make an issue of car related things. I knew at that point something absolutely had to be done. I am personally not a fan of stick on battery powered solutions (and neither is my wife), for one batteries, for two, extra steps to turn on/off, and for three, looks clunky. No offense to those that went this route as it is still a valid solution, just not my style with how to do things. Ok let's do this.
Removing the charge port door/bay:
*If there is an easier way to remove the assembly, let me know, I'd be all for it!*
Open the port door and remove the port covers completely and set them aside. You will need a thin plastic pry tool to slip between the charge ports and the soft rubber trim as pictured.
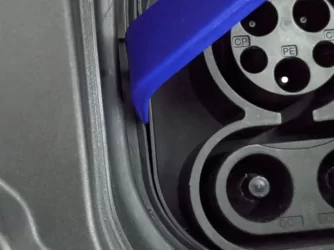
Carefully work the rubber trim away and out away from the port. The rubber is permanently attached to a plastic trim ring that snaps around the port. The plastic can be cracked so be gentle. Once you have it off the port you can pull the rubber towards you, leaving a nice gap for the next step.
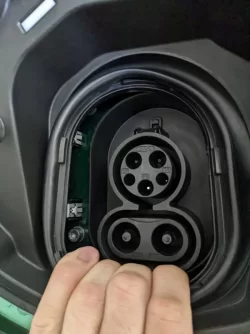
Next we have to get at 3 of the 4 clips that holds the whole door assembly onto the car. The locations are marked up in the next picture and are located by 4 plastic molding spots. Do not worry about getting to #4, it's hard to reach and unnecessary to get the door assembly out.
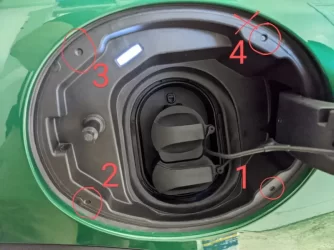
To get at these you will need to fit your hand/fingers in between the charge port and rubber trim, and feel for the plastic clips that will easily pop with just a little pressure. I recommend going in the order as pictured above. If you have really big thick hands, you may need someone with long skinny hands to fit.
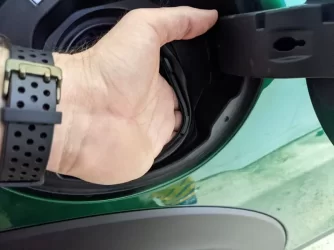
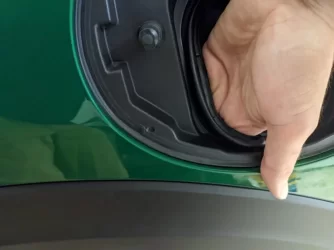
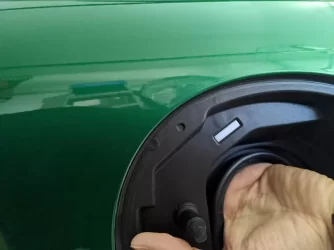
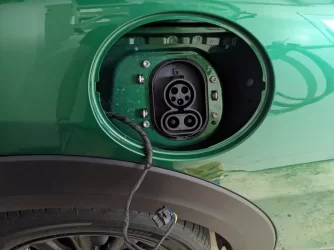
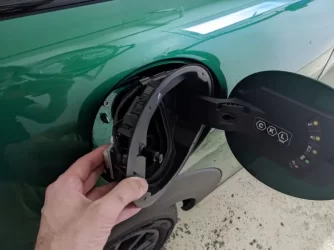
Once you've popped those 3 clips the door should be able to pull out slightly with little pressure like pictured.
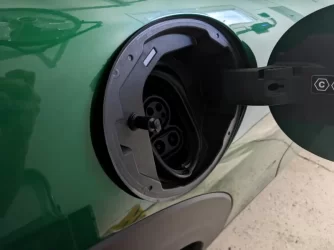
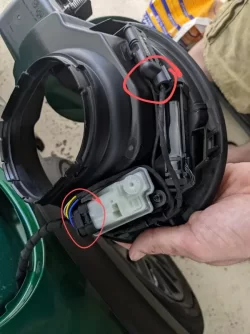
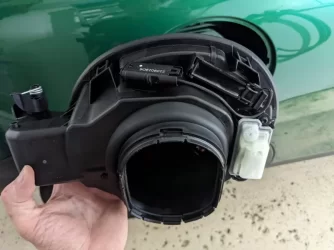
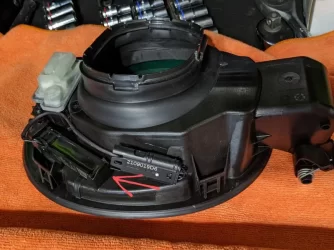
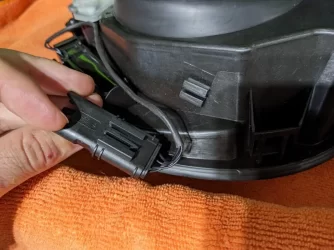
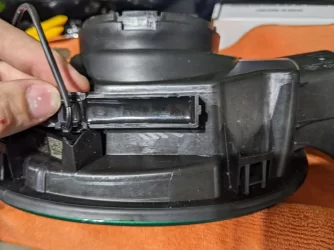
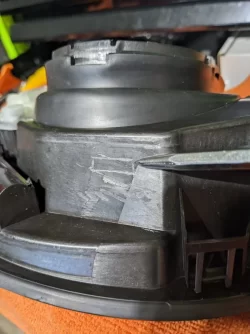
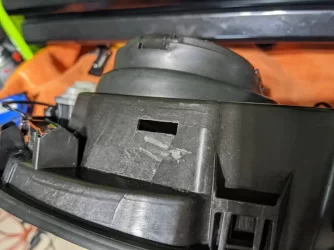
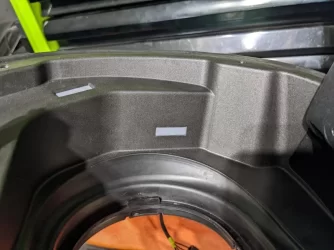
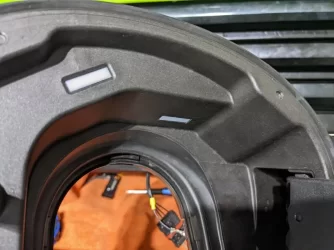
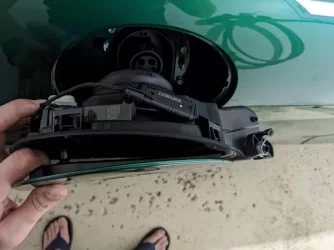
Now just pull the assembly towards the rear of the car and out simultaneously (maybe give a little wiggle as well), the 4th clip should easily let go and the assembly will be free. Make sure you hold the actual door about halfway closed as the edge can make contact with the car body, don't want any scratches. Once free, move the assembly out and towards the rear of the car to clear the door hinge.

Disclaimer: This information is for learning purposes only. Attempt at your own risk. Altering your vehicle and/or wiring harness may result in a voided/denied warranty.
Now that the unlikely scary stuff is over, let's begin!!
This journey all began shortly after taking delivery of the car. I've read many complaints about the charge port lighting issue and didn't think it would apply to me much as I park in a well lit garage. Well turns out I was wrong and pulling in at night, the main garage lights are not on, and makes seeing the charge port area more difficult than expected. Even my wife made a comment on it when she went to plug it in, before I ever said anything about this issue, and shes not one to make an issue of car related things. I knew at that point something absolutely had to be done. I am personally not a fan of stick on battery powered solutions (and neither is my wife), for one batteries, for two, extra steps to turn on/off, and for three, looks clunky. No offense to those that went this route as it is still a valid solution, just not my style with how to do things. Ok let's do this.
Removing the charge port door/bay:
*If there is an easier way to remove the assembly, let me know, I'd be all for it!*
Open the port door and remove the port covers completely and set them aside. You will need a thin plastic pry tool to slip between the charge ports and the soft rubber trim as pictured.

Carefully work the rubber trim away and out away from the port. The rubber is permanently attached to a plastic trim ring that snaps around the port. The plastic can be cracked so be gentle. Once you have it off the port you can pull the rubber towards you, leaving a nice gap for the next step.

Next we have to get at 3 of the 4 clips that holds the whole door assembly onto the car. The locations are marked up in the next picture and are located by 4 plastic molding spots. Do not worry about getting to #4, it's hard to reach and unnecessary to get the door assembly out.

To get at these you will need to fit your hand/fingers in between the charge port and rubber trim, and feel for the plastic clips that will easily pop with just a little pressure. I recommend going in the order as pictured above. If you have really big thick hands, you may need someone with long skinny hands to fit.


Once you've popped those 3 clips the door should be able to pull out slightly with little pressure like pictured.

Now just pull the assembly towards the rear of the car and out simultaneously (maybe give a little wiggle as well), the 4th clip should easily let go and the assembly will be free. Make sure you hold the actual door about halfway closed as the edge can make contact with the car body, don't want any scratches. Once free, move the assembly out and towards the rear of the car to clear the door hinge.


