DaveO
Member
With the sloppy driving conditions of late, I notice my rear camera lens is always mucked up with grime. I did a little searching, and found a fellow who managed to install a rear camera washer in his Ioniq. (https://www.ioniqforum.com/threads/rear-view-camera-washer.35595/)
He didn’t have a rear washer or wiper, unlike the Kona, so I figured it shouldn’t be that hard to install a second washer nozzle on my car. I headed to Napa and picked up a 3/16” straight washer hose connector, a 3/16” Y connector, 8 feet of washer hose, and a check valve. Total cost $25. Then I picked up 2 (1 for a spare) 18 gauge needles from the pharmacy ($3). As it turns out the Napa check valve didn’t work after first installation and testing. I ended up ordering and using a Kona stock rear washer check valve (Hyundai p/n: 9888629000) from the dealer for $7.
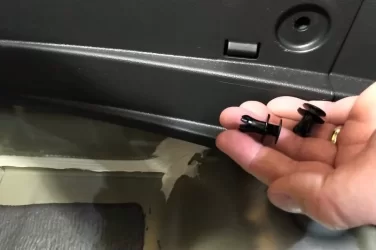
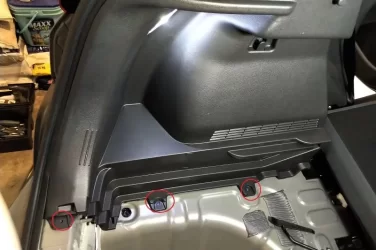
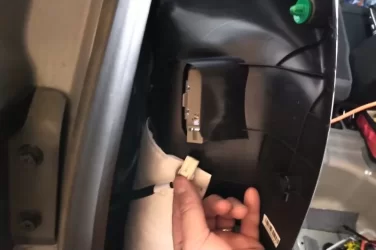
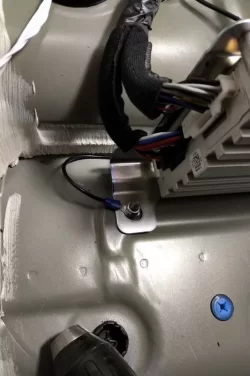
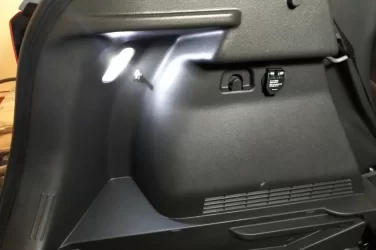
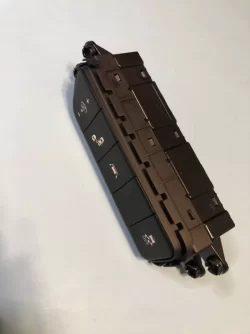
On the rear hatch door, I popped off the top interior trim, the door handle insert, and then the bottom trim panel (there is 1 plastic screw to remove at the bottom), and unscrewed and popped off the side trim panel on the passenger side. Everything is held with standard vehicle push in plastic connectors. Next, I undid the four 10mm nuts holding the rear latch assembly and squeezed the 2 orange plastic pop-in connectors to remove the assembly. There is one electrical connector to disconnect that feeds the camera, license lights and the latch release button.
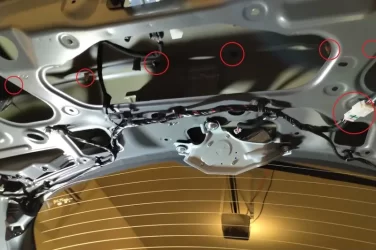
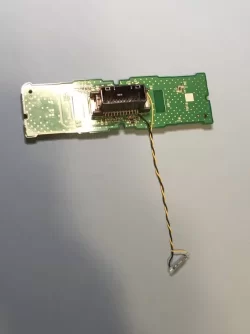
The wires feed through a rubber grommet that pops out, enabling the assembly to be placed on the bench.
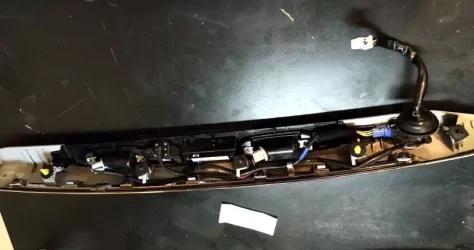
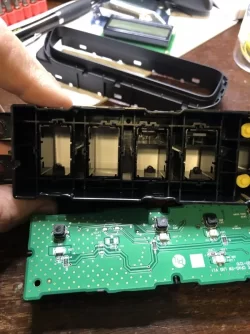
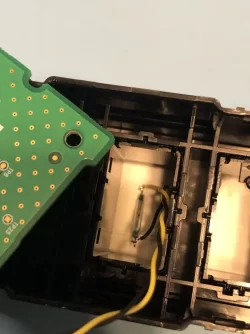
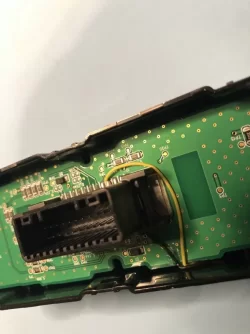
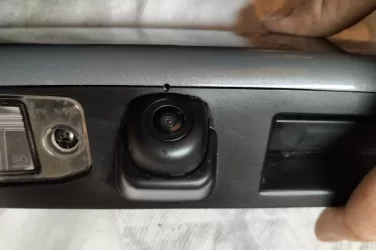
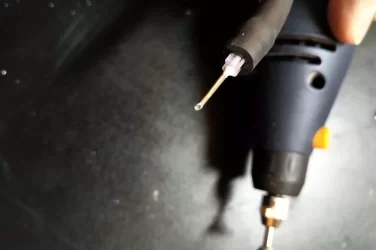
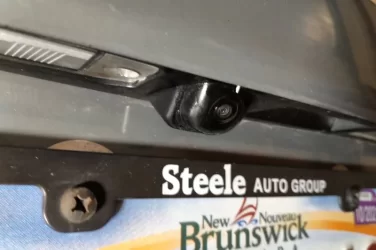
From the inside of the latch assembly, centered on the camera lens, I drilled a 1/16” hole through the plastic to insert the needle nozzle. Then, clipped the needle’s plastic flange so it would fit inside the washer hose, and then used a Dremel to cut the needle to length, and rounded the edges. I bent the needle slightly so it stays close to the lens and would spray on it. (This was the fiddliest bit of the whole process; I blew water through the hose and needle a few times until I was happy. Rubber washer hose water doesn’t taste good, by the way….). The nozzle is close enough to the camera that you don’t snag on it.
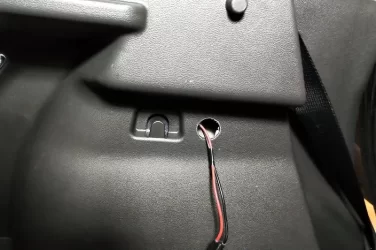
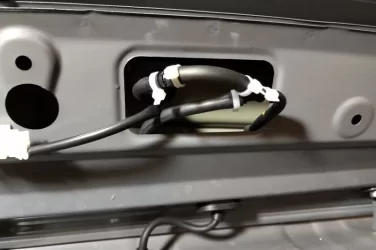
I secured the needle and hose under the camera, then rerouted the camera cable to make room for the washer hose over to the grommet. I poked a new hole in the grommet, and squeezed the hose through, taping the wire and hose together with electrical tape. The grommet seal is tight to the washer hose. Then I cut the hose in the latch assembly and inserted (on the second attempt) the Hyundai check valve (white side towards the nozzle). This basically prevents the hose from draining when the washer pump is not pushing fluid.
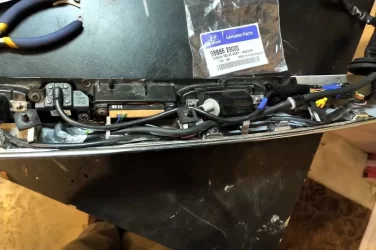
I reinstalled the rubber grommet and latch assembly and then cut the hose to insert a straight 3/16” hose connector, so that in the future the latch assembly could be removed by disconnecting the electrical plug and decoupling this fitting.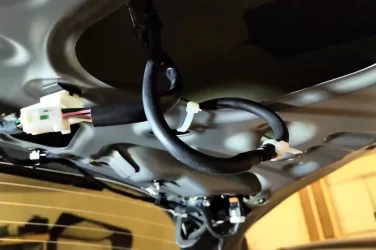
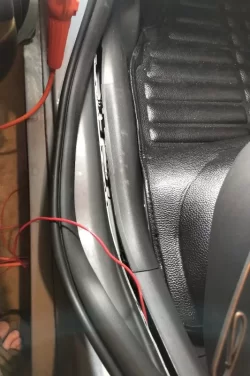
I ran the hose above the tail light, then between the metal and the plastic trim to the top of the window.
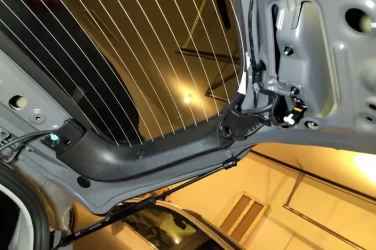
There, I disconnected the original check valve for the top sprayer, and made up a Y to divert the washer fluid to both nozzles. The top check valve is closest to the sprayer, and the Y permits unrestricted flow to the camera check valve.
I tested the installation, and when activating the rear washer, it sprays well on both nozzles. I took a quick drive to ensure the moving air didn’t suck out the fluid, and then reinstalled all the interior trim. Overall, I’m pleased with the install, and the nozzle is not noticeable unless you look for it.
Hope this helps anyone looking to try a similar project!
He didn’t have a rear washer or wiper, unlike the Kona, so I figured it shouldn’t be that hard to install a second washer nozzle on my car. I headed to Napa and picked up a 3/16” straight washer hose connector, a 3/16” Y connector, 8 feet of washer hose, and a check valve. Total cost $25. Then I picked up 2 (1 for a spare) 18 gauge needles from the pharmacy ($3). As it turns out the Napa check valve didn’t work after first installation and testing.
On the rear hatch door, I popped off the top interior trim, the door handle insert, and then the bottom trim panel (there is 1 plastic screw to remove at the bottom), and unscrewed and popped off the side trim panel on the passenger side. Everything is held with standard vehicle push in plastic connectors. Next, I undid the four 10mm nuts holding the rear latch assembly and squeezed the 2 orange plastic pop-in connectors to remove the assembly. There is one electrical connector to disconnect that feeds the camera, license lights and the latch release button.

The wires feed through a rubber grommet that pops out, enabling the assembly to be placed on the bench.

From the inside of the latch assembly, centered on the camera lens, I drilled a 1/16” hole through the plastic to insert the needle nozzle. Then, clipped the needle’s plastic flange so it would fit inside the washer hose, and then used a Dremel to cut the needle to length, and rounded the edges. I bent the needle slightly so it stays close to the lens and would spray on it. (This was the fiddliest bit of the whole process; I blew water through the hose and needle a few times until I was happy. Rubber washer hose water doesn’t taste good, by the way….). The nozzle is close enough to the camera that you don’t snag on it.


I secured the needle and hose under the camera, then rerouted the camera cable to make room for the washer hose over to the grommet. I poked a new hole in the grommet, and squeezed the hose through, taping the wire and hose together with electrical tape. The grommet seal is tight to the washer hose. Then I cut the hose in the latch assembly and inserted (on the second attempt) the Hyundai check valve (white side towards the nozzle). This basically prevents the hose from draining when the washer pump is not pushing fluid.

I reinstalled the rubber grommet and latch assembly and then cut the hose to insert a straight 3/16” hose connector, so that in the future the latch assembly could be removed by disconnecting the electrical plug and decoupling this fitting.

I ran the hose above the tail light, then between the metal and the plastic trim to the top of the window.

There, I disconnected the original check valve for the top sprayer, and made up a Y to divert the washer fluid to both nozzles. The top check valve is closest to the sprayer, and the Y permits unrestricted flow to the camera check valve.

I tested the installation, and when activating the rear washer, it sprays well on both nozzles. I took a quick drive to ensure the moving air didn’t suck out the fluid, and then reinstalled all the interior trim. Overall, I’m pleased with the install, and the nozzle is not noticeable unless you look for it.
Hope this helps anyone looking to try a similar project!


