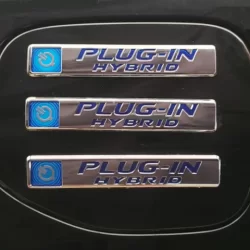
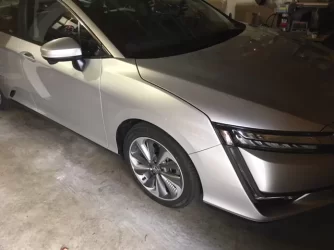
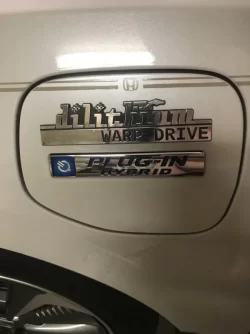
Even before I bought my Clarity I knew that I would want to remove the Plug-In Hybrid badge from the charge door. Having a badge there makes perfect sense in the dealer showroom to help explain what the second fuel door is for, but I preferred not having it.
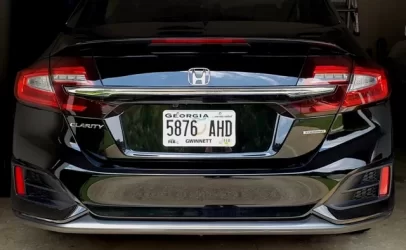
After removing the charge door badge and realizing that it wasn't that hard to do, I decided to remove the badge on the passenger side also. Having completed that one I wasn't sure about the rear plug-in badge but decided that it made the back end sort of busy, especially since the plug-in badge was right above the Touring badge. So I decided the back one goes too. I know some people carry debadging even further but I just removed the plug-in badges.
For those who have never debadged and are worried about damaging the car or paint it's quite safe with just a little bit of care. The first post in this thread links to a method with photos, using a fishing knife

to remove it, which worked out okay but they said in hindsight floss was probably safer, which is what I had already planned to use. Also in their method they cut through the adhesive part of the way then pulled the badge the rest of the way off. If done carefully this is probably okay but I didn't want to risk breaking the badge so I just kept cutting until it basically came off by itself.
I somewhat modified things but basically followed a similar strategy, here is what worked for me:
Tools:
Hair dryer
Dental floss (or fishing line)
Digital thermometer (optional)
Wooden shims (or thin piece of plastic, styrofoam, etc)
Goo-Gone (or similar adhesive remover)
Rubbing alcohol
Wax and polish
Step 1. Use a hair dryer to warm up one end of the badge and soften the adhesive, but don't overdo it. I used a digital thermometer to monitor the temperature, taking regular readings helped me know when I needed to hit it with the hair dryer again. There would be no problem not using a thermometer I just found that it made it easier at least starting out, as I got more familiar with how much heat was needed I didn't use the thermometer anymore.
Step 2. Using the floss (or fishing line) carefully start "sawing" on one side of the badge in between the badge and the paint. You will quickly learn how much pressure to use, which isn't much. But it is somewhat slow going, probably about ten minutes per badge to saw all the way from one side to the other. I used floss because I didn't have any fishing line handy, it worked fine except it would break fairly often and I had to use a new piece. One thing I learned is to vary which part of the floss is doing the sawing which made it last longer before breaking. Fishing line probably would go faster but floss seemed a little safer (plus my car will have fewer cavities). Below you can see that I went through quite a bit of floss just for one badge.
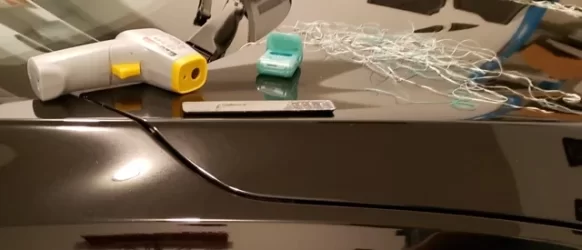
Be sure as you are sawing that you are pulling the floss (or fishing line) towards you to minimize pressure on the paint, the pressure should be on the badge.
As you go along use the hair dryer as needed to keep the glue warm.
Step 3. When you get a inch or so along it can help to wedge something into the side that you have removed so far, this bends the badge away from the car and makes the sawing go easier. You can use a wooden shim wrapped in cloth or a piece of plastic or styrofoam, basically anything, obviously use something that won't scratch the paint.
IMPORTANT - do not be tempted to pull the badge off when you are halfway, otherwise you can break it. Breaking the badge wouldn't hurt the car but then you won't have the badge later for resale or trade, which may not be an issue but no need to chance breaking it and later having to purchase a replacement.
Step 4. As you near the end you can occasionally pull carefully to see if maybe the badge will now easily pull off the rest of the way, it if comes off easily great, if not then continue sawing.
Step 5. After the badge is removed most of the adhesive will still be on the car.
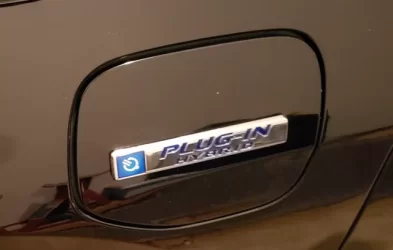
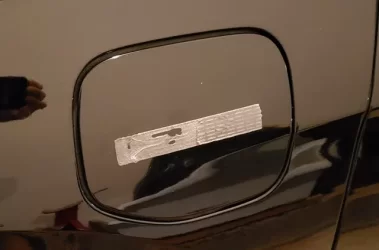
I was able to remove the majority of the adhesive by peeling it off and/or rubbing with my thumb. Stubborn pieces I carefully used my fingernail. For what was remaining I used Goo-Gone. Normally you don't want to use chemicals on paint but in this case it's a tradeoff to avoid using a lot of force or abrasion to remove the adhesive.
Step 6. Clean the area with rubbing alcohol, then polish and wax.
Before putting the badges away for safe keeping I decided to place them together on the charge door for a photo op
